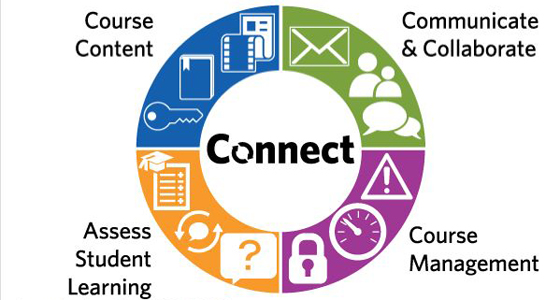
 At the 2012 CTLT Institute event, A Dip in the Pool: Connect Basics, faculty were able to get hands-on experience with the new online Learning Management System (LMS), Connect. CTLT’s Lucas Wright, Learning Technology Specialist; Emily Renoe, Learning Technology Specialist; and Brian Wilson, Instructional Designer/Project Manager, facilitated the session. The workshop was divided into four sections: Course Content, Communicate and Collaborate, Assessing Student Learning, and Course Management. The workshop introduced many of Connect’s features such as the course dashboard, discussions, notifications, and the Grade Centre. Attendees came to the workshop with a wide range of experience with Connect, but the session taught many of them the basic skills so that all workshop attendees walked away with a deeper understanding of the new system.
Course Content
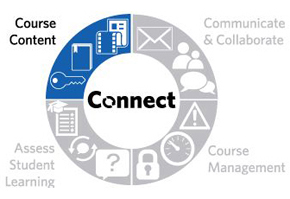 The facilitators started the session with an overview of all of the basic content and modules available in Connect, and how they compare to WebCT Vista. Each workshop attendee was provided with a laptop to use throughout the workshop in order to gain hands-on experience with the system. Most attendees felt that Connect has a more modern, user-friendly feel than WebCT Vista.
The facilitators began by comparing the student view to the instructor view. Three main aspects of the student view include the Portal Page, the Notification Dashboard, and the My Places section. The Portal Page has different modules such as My Announcements, My Calendar, and My Courses. Each student can customize their own page by dragging the modules around, and adding or removing modules on the Portal Page. The Notification Dashboard shows a range of information on upcoming assignments, alerts, and documents that need attention. Although the dashboard displays a lot of information, it is far more concise and clear than WebCT Vista. The My Places section is where personal information can be added and customized. The facilitators stressed that emails are not automatically placed into profiles, and that students have to manually add their own email. This allows students to input whatever email they will actually check. Students can also choose if they want their email shared with other students in the course. In a small course, sharing emails can be valuable, but in larger courses, students may prefer to keep their information private.
The facilitators went on to show various aspects of the instructor view in Connect. Attendees were taught how to add and edit content along with other various tips and tools. A major change from WebCT Vista is that there are no longer the three tabs of Teach, Build, and Student View. These tabs used to be how instructors could edit their page. In Connect, there is an Edit On/Edit Off button as well as a Student View option. With the Edit On button, faculty can edit content and customize their course. The workshop attendees found this to be an improvement from WebCT Vista, because they can both edit content and build it at the same time. The Edit Off button allows the instructor to browse a course without making changes. Although Edit Off is similar to Student View, there are some differences and they should be treated as separate viewing methods.
Once the workshop attendees got a sense of the instructor view, they had a chance to add content to the page. Most of the attendees found adding content to be very straightforward. Content Areas can be added by clicking Getting Started under the Course Menu. Once the new area is created, content can be added. Instructors can add new discussions or assignments to Content Areas. The facilitators emphasized that content should be kept organized. For example, adding a Getting Started Content Area with a syllabus and instructor expectations is an easy way for students to navigate the page. A bonus for Connect is that changes are seen as they are happening. If the content is formatted in a certain way, that is exactly how it will appear on the main page. That being said, facilitators advised uploading PDF, PowerPoint, or HTML instead of copying and pasting from Microsoft Word. Often the formatting will not be intact if moved over from Word.
Communicate and Collaborate
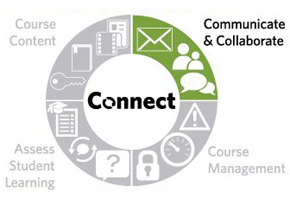 Many of Connect’s tools allow for easy communication and collaboration between instructors and students. The various communication tools include mail, messages, announcements, discussion forums, wikis, journals, and blogs. Instructors can choose which tools they want to use depending on how they want students to interact with their page. Mail, Messages, Announcements and Discussion Forums allow instructors to answer student questions or post information regarding assignments or tests. The Messages tool keeps inbox messages, sent mail, and folders within Connect, while the Mail tool keeps email with the external email provider. If the Mail tool is used, there will be no record of sent and received messages within Connect. Wikis, journals and blogs can encourage involvement outside the classroom. In addition, they are an easy way for instructors to share articles, extra material, and new concepts. The facilitators pointed out the importance of staying consistent with what tools are used so that students always know where they can expect new information.
An important collaboration function in Connect is the Groups feature. This feature gives students an online space to collaborate on projects, assignments, or papers. Group default settings include blogs, discussion boards, file exchange, and instant messaging, but the instructor can edit which elements they want students to have access to. After discussing potential problems with students posting inappropriately to discussion boards, the workshop attendees discussed ways to maintain control over Groups in their course. Setting up rules and expectations for Groups is important so that the students know how the tool will be utilized and moderated. Instructors should make their presence known on discussion boards so that students are aware that the instructor is monitoring the page.
Assessing Student Learning
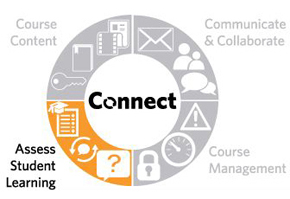 Tests, Surveys, and Pools are important tools for creating assessments or assignments and give students rapid feedback on their work. Creating a test is as simple as selecting the option from the Control Panel and completing the test information. There are many options for how the test questions can be configured. These configurations, such as how the questions are graded, will apply to every question in the test. If instructors want to keep test questions, they should create them within a Pool. Once the question is created it can be added to the test from a Pool, but will also remain in the Pool for future use. Questions can also be created from the Test Canvas if they are not needed again. Instructors have the ability to embed YouTube videos or Flickr photos into questions. In addition, they can create hot spots on an image, and the student will receive marks if they click on the correct spot on the image. Once the test is ready, it must be deployed into a Content Area. The test does not have to be within assessments; it can be wherever the professor wants it to be. Although a test can only be deployed into one area, it can be referenced in other parts of the course using Course Links. Tests in Connect allow for a richer student experience with easy user interface and the in-depth questions instructors are now able to pose.
Course Management
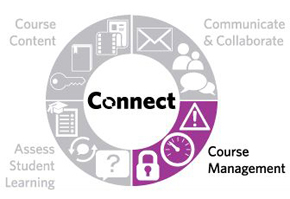 The Grade Centre creates a straightforward system for instructors to manage the grades of their students within a course. Within the Grade Centre there is a page called Needs Grading. Attempts or completed student assignments will appear in a queue that can easily be navigated through or sorted. Instructors can filter their Needs Grading page to suit the needs of their course. The facilitators relayed the importance of making columns unavailable to students while grading. If they are available, students will be able to see the feedback as soon as the assignment or test has been graded. This means that some students will see their grades before others. By making columns unavailable, instructors can make all grades public at the same time. If a student is continually receiving poor marks or not handing work in on time, they will appear in the Early Warning System. Instructors can clearly see who is struggling in their course, and reach out to those students. Instructors can also review the success of all students in the Performance Dashboard. In this dashboard, all information regarding each student’s progress is listed. The tools within the Grade Centre allow instructors to stay connected to the progress of their students, ultimately enriching the online student experience.
The workshop attendees walked away with strategies to enhance their online teaching styles as well as a method to engage students outside the classroom. The hands-on interaction with Connect allowed the attendees to gain a deeper understanding of the various tools available and to start thinking about how to apply their new knowledge to their courses on Connect.
